The Slab Leak Repair Process: What to Expect When You Call an Expert
A slab leak can feel like a stealthy intruder hiding under your home’s concrete foundation. One day, your floors are fine; the next, you notice a warm patch or hear water running when every tap is off. In that moment, stress usually kicks in. But knowing the repair journey ahead can replace fear with a clear plan. This guide breaks down each part of the slab leak repair process, using plain language and a real-world perspective, so you’ll feel prepared from the first ring of the phone to the satisfied sigh when the work is done.
Early Signs You Might Have a Slab Leak
Before any expert arrives, most homeowners sense a problem. Maybe your water bill jumps for no clear reason. Perhaps you spot a damp spot on the carpet or tile, or feel unexpected warmth underfoot. Some people hear a faint hiss behind walls even when every fixture is silent. These clues tell you water is escaping somewhere it shouldn’t. Catching them early keeps the damage minor and the repair costs lower.
Your Repair Journey: From the First Call to the Final Walkthrough
When you seek professional help, understanding the logical sequence that unfolds, from the first reassuring phone conversation and initial safety checks to pinpoint detection, precise repair work, and respectful restoration, can turn an anxious emergency into a manageable, predictable experience.
Making the Call: What the Office Needs from You
When you phone a slab-leak specialist, the person on the other end will ask simple, but important questions. They’ll want your address, a short description of what you’ve noticed, and when you first saw the signs. They might ask if you’ve turned off specific valves or checked your water meter for movement. Giving clear answers helps the team decide how urgent the job is and which tools the technician should bring. Most reputable companies also explain their visit fee, estimated arrival window, and any safety steps you should follow until help arrives.
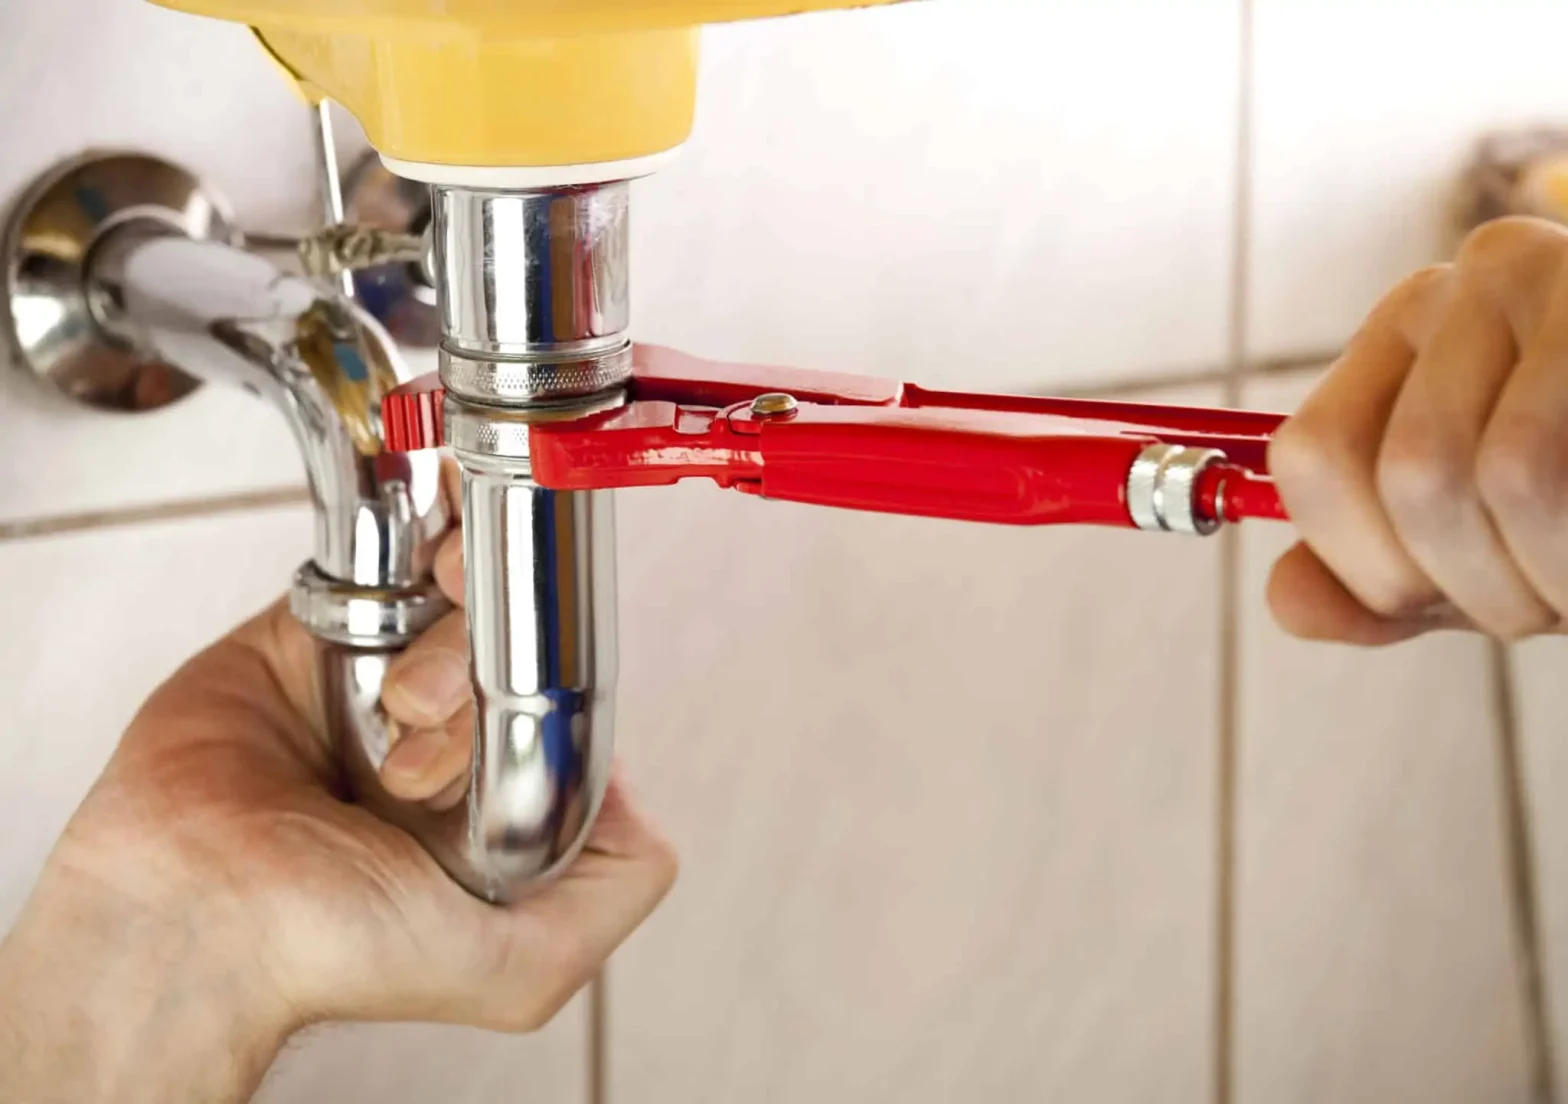
Arrival and Safety Check
Expect your technician to show up with ID, branded clothing or vehicle, and protective gear. They start by confirming the issue is still active. Sometimes, homeowners turn off the water before the professional plumber gets there, which can change how the leak reveals itself. Next, the technician looks for immediate hazards: standing water near outlets, weakened flooring, or mold. If anything poses a risk, they’ll secure the area first, making sure your family and pets stay safe.
Non-Invasive Detection: Pinpointing the Problem Area
Rather than breaking into the floor at random, experienced slab-leak teams begin with simple, low-impact checks that narrow the search zone. They review your home’s plumbing layout, shut off branch lines one at a time, and watch the water meter for movement. A sudden stop in the meter’s dial shows which section of pipe is leaking. Next, they trace surface clues, tiny damp spots, faint warmth in the flooring, or hairline cracks to triangulate the most likely spot. By combining careful visual inspection with thoughtful valve isolation, they can mark a precise repair point, keeping demolition and interruption to your day to an absolute minimum.
Discussing the Findings and Your Options
Once the leak’s position is clear, the technician explains what they found. They’ll point out the pipe material, size of the breach, and any secondary damage like mildew or soil erosion. At this moment, you’ll hear your options in plain terms. Common fixes include spot repair, pipe rerouting, or full pipe replacement. Spot repair means opening the slab right above the leak, sealing or replacing the damaged section, and patching the concrete. Rerouting creates a new line through walls or attic space, leaving the slab untouched. Full replacement, usually for older pipes with multiple weak spots, swaps out entire lines to prevent future leaks. Your technician should outline pros, cons, timelines, and costs for each choice, then give you space to decide.
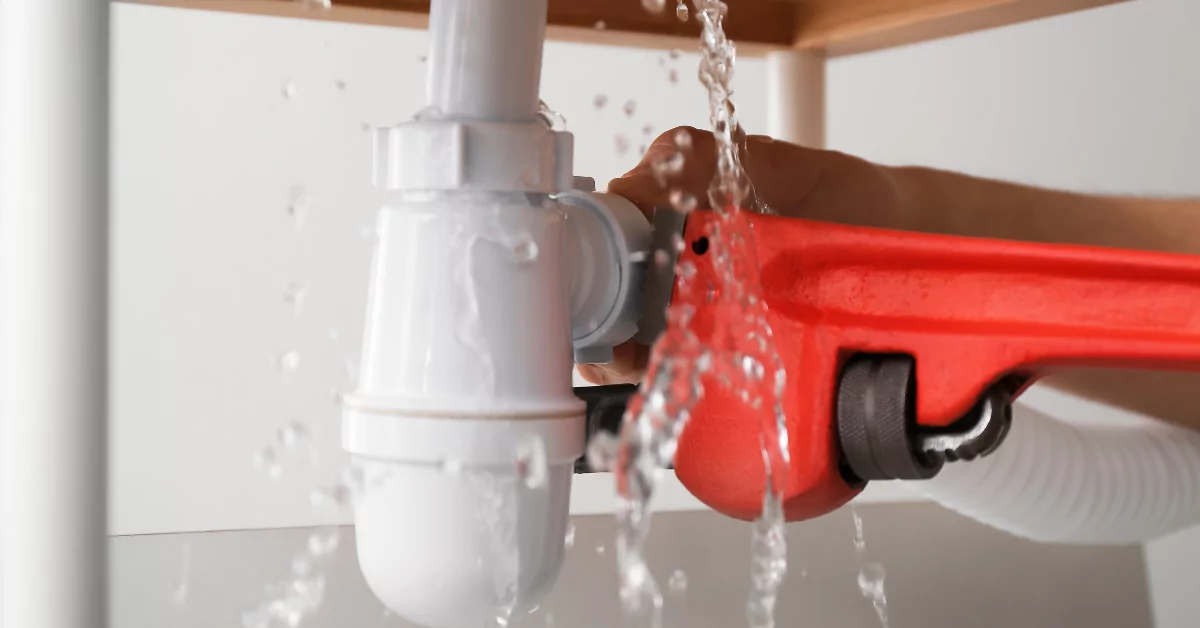
The Repair Itself: Step-by-Step
When you approve a plan, work begins. If the team must cut into the floor, they first cover nearby surfaces with drop cloths and plastic sheeting. A concrete saw then opens a neat square or rectangle down the pipe. Broken pieces go into sturdy buckets so dust stays contained. The plumber exposes the bad pipe, cuts out the faulty section, and installs new, code-approved material. Before closing everything up, they run a test to confirm no further leaks. If you choose rerouting, workers may open small holes in drywall or ceiling instead; the new line routes around the slab and connects to existing fixtures. The crew tests the water flow and pressure again, whichever path you pick, until the numbers look perfect.
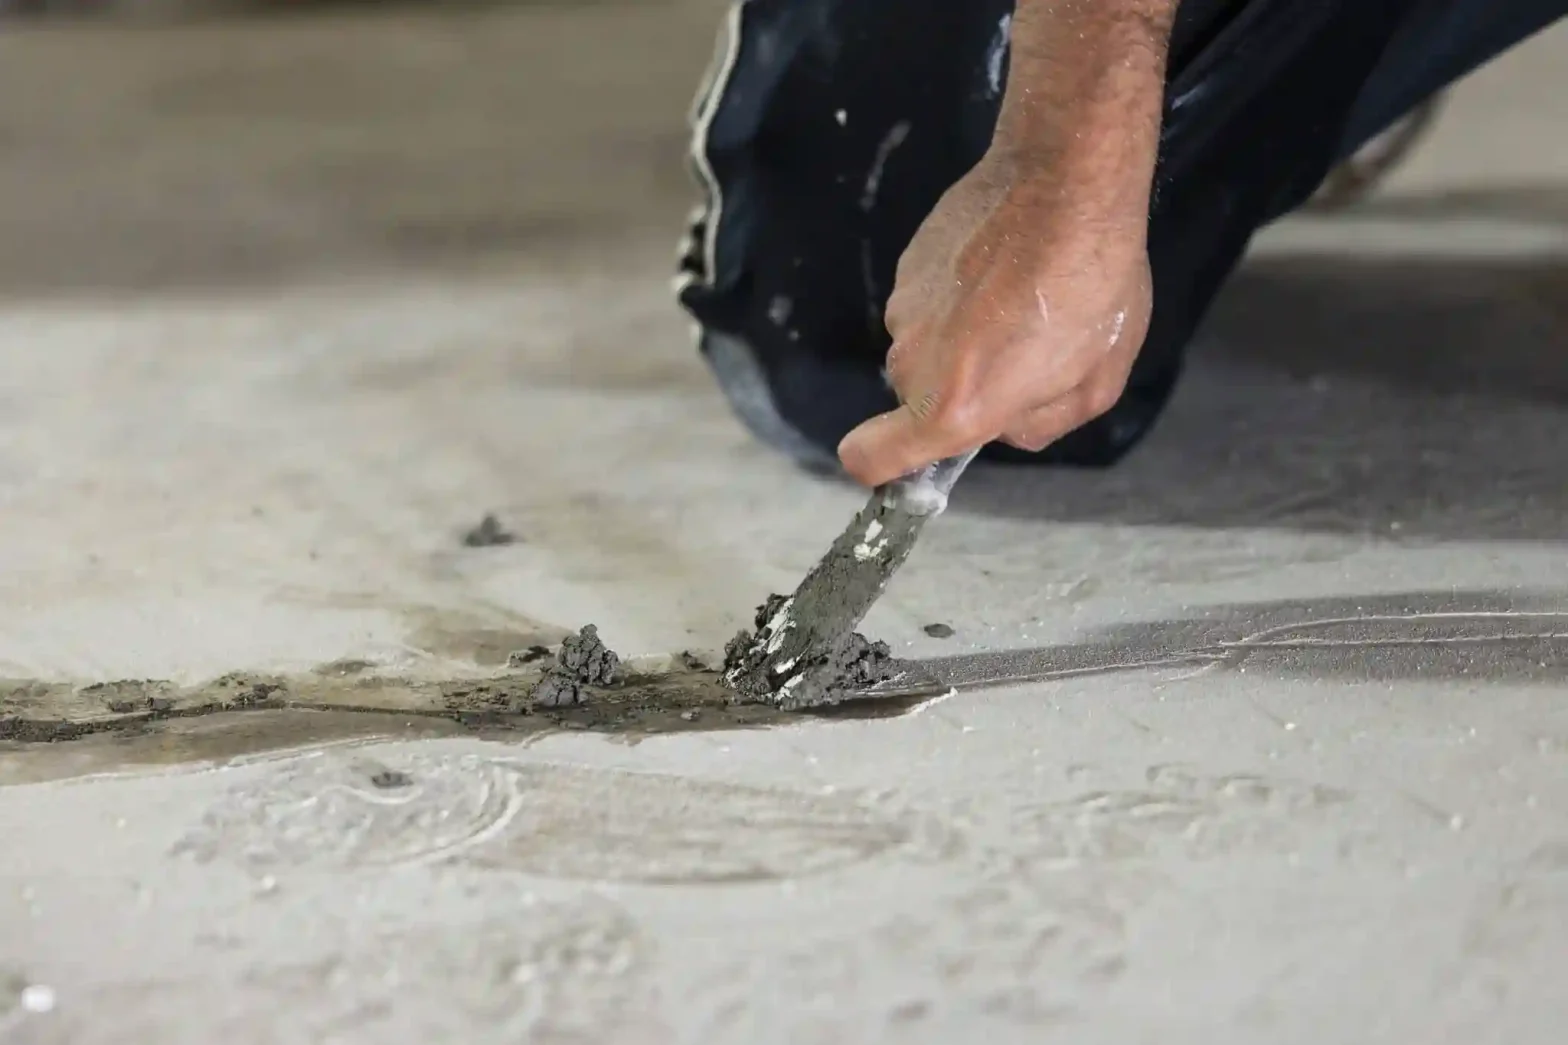
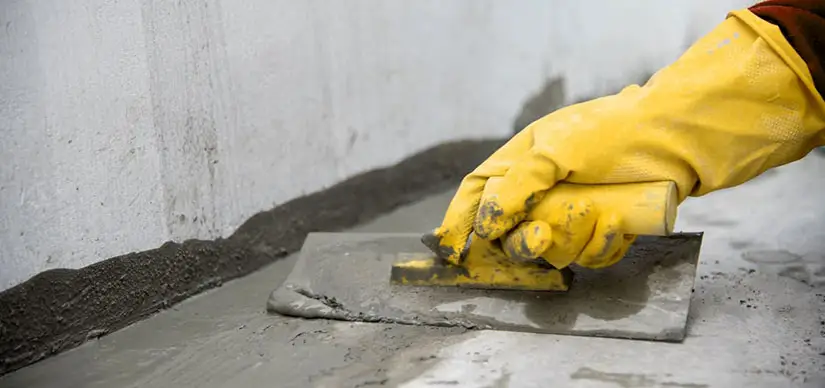
Restoring Your Home to Normal
After plumbing passes the final test, attention turns to putting your space back together. Concrete patches fill any floor openings, and a quick-drying mix speeds up cure time so you’re not stranded for days. Tile, carpet, or wood goes back in place as neatly as possible. For reroutes, technicians patch drywall and, when necessary, arrange painters for a seamless finish. The goal is to leave the area looking like the leak never happened.
Final Walkthrough and Paperwork
A good company ends each job with a walkthrough. The technician shows you the repair site, explains what they did, and demonstrates normal water pressure. They hand over an itemized invoice, photos of the repair, and warranty details. This is the moment to ask every question still on your mind. A respectful expert never rushes this talk; they want you to feel fully informed before they leave.
Tips to Keep Future Leaks at Bay
Although no pipe lasts forever, you can reduce the odds of another slab leak. Schedule annual plumbing checkups where pros inspect pressure regulators, water hardness, and pipe wear. Fix small drips immediately; they hint at bigger stress in the system. Keep an eye on water bills and listen for faint running sounds. Early action costs far less than emergency slab work.
Why Professional Help Matters
Some homeowners wonder if a DIY route could save money. In truth, guessing at slab leaks almost always costs more. Without proper tools, you might break the floor in the wrong place, miss hidden damage, or overlook health hazards like mold. Certified plumbers hold insurance, follow local codes, and carry equipment that neither the average toolbox nor a weekend YouTube tutorial can match. Trusting an expert safeguards both your budget and your peace of mind.
Restore Confidence Under Your Feet
Discovering a slab leak can shake your sense of security at home, yet the repair process does not have to be overwhelming. Knowledge turns fear into focused action. By understanding each step, early clues, expert detection, clear repair choices, and careful restoration, you’ll confidently walk through the experience. And when skilled hands finish the job, you’ll stand on solid ground once more, grateful that hidden water is now back where it belongs.
If you’re dealing with a slab leak, don’t hesitate to call Calis Choice. Our expert team is ready to assist with reliable and fast repairs, ensuring your home stays safe and dry. Contact us today for professional slab leak repair service you can trust!