DIY Wall Leak Repair: Tips and Tricks for the Weekend Warrior
Wall leaks in homes, especially in regions like Temecula, pose significant challenges. Beyond unsightly stains and peeling paint, these leaks can lead to severe structural damage, compromising the integrity of your property. Addressing these issues promptly is crucial. Timely wall leak repair prevents mold growth, deterioration of insulation, and potential hazards to your family’s health.
Fortunately, DIY wall leak repair is feasible for homeowners equipped with basic skills and tools. Understanding the root cause and employing simple fixes like sealing cracks or applying waterproof coatings can mitigate these issues. Empowering homeowners to tackle these repairs promptly ensures a safe and well-maintained living space.
Identifying the Source of Wall Leaks in Temecula
The success of any repair hinges on accurately identifying the point of origin of a wall leak. Merely addressing visible water damage without finding the root cause might result in recurring issues. By pinpointing the source, you mitigate the immediate problem and prevent potential structural damage and mold growth.
Methods for Identifying the Leak’s Location
1. Visual Inspection: A preliminary step involves comprehensively examining walls, ceilings, and floors. Look for telltale signs like water stains, peeling paint, or bubbling wallpaper. These visual cues often hint at the approximate location of the leak.
2. Moisture Detectors: Utilize advanced moisture detection tools to identify hidden moisture. Moisture meters or infrared cameras can reveal moisture levels behind walls, aiding in identifying the precise location of the leak.
3. Water Stains: Persistent water stains on walls or ceilings can indicate an ongoing leak. Trace the stains to their highest points, as this can mean the entry point of water.
Common Areas of Wall Leaks
Understanding where leaks commonly occur can streamline the identification process:
1. Roof: Damaged or missing shingles, cracked flashing, or clogged gutters can let water seep into walls, leading to leaks.
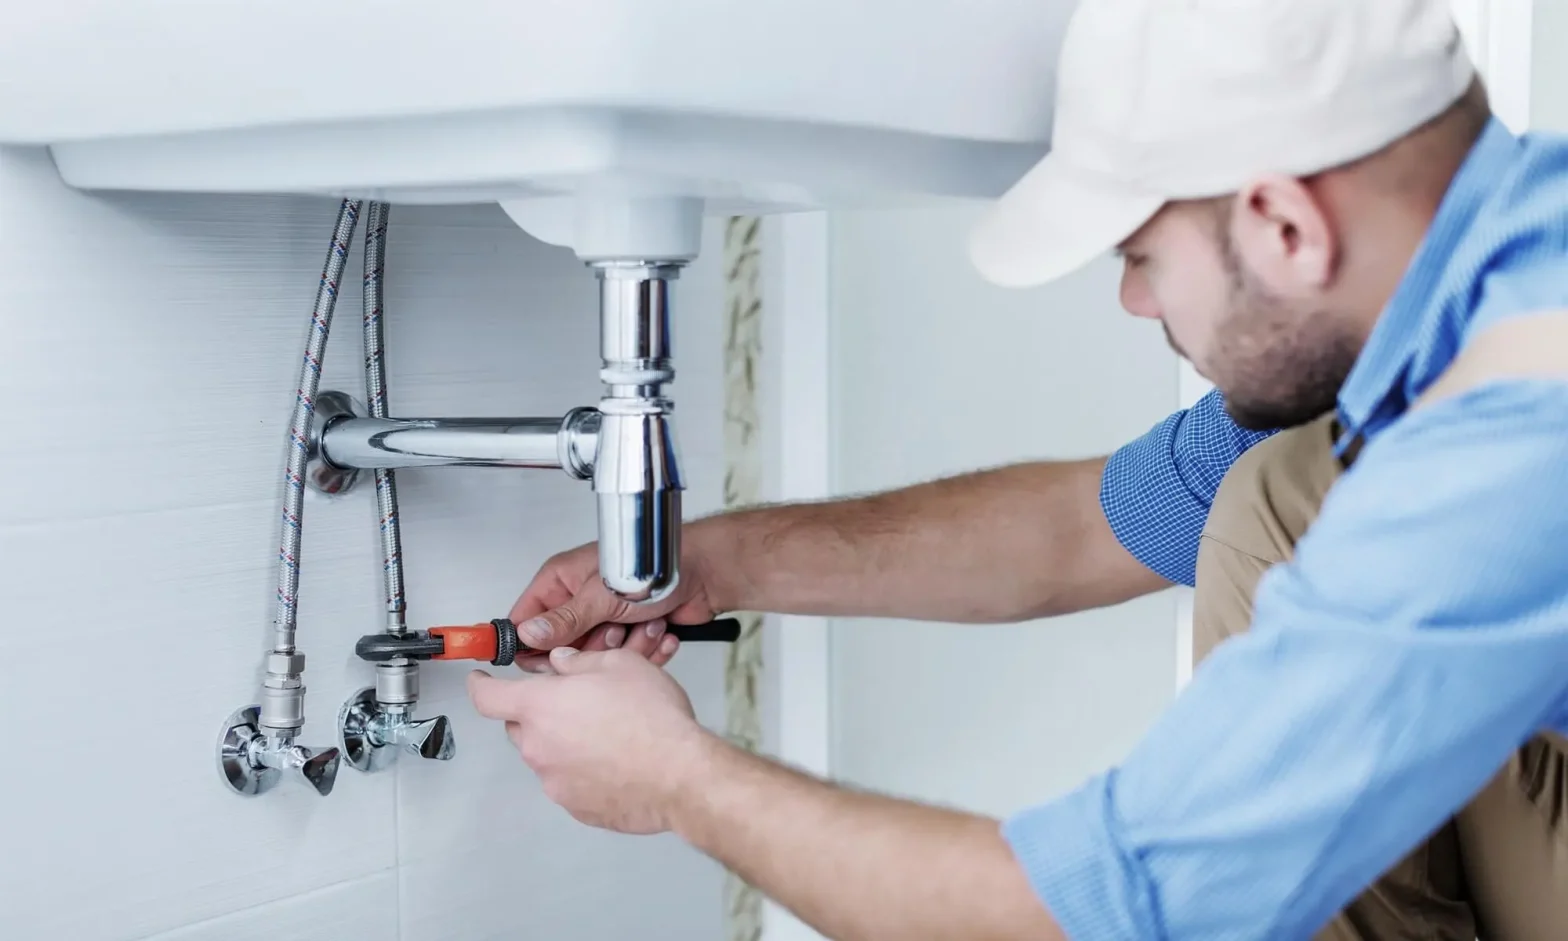
2. Pipes and Plumbing: Leaks in plumbing lines within walls, including faulty seals, corroded pipes, or loose connections, can cause extensive water damage.
3. Windows and Doors:Improperly sealed windows or doors can permit water infiltration during rain or storms, causing leaks along the walls adjacent to these fixtures.
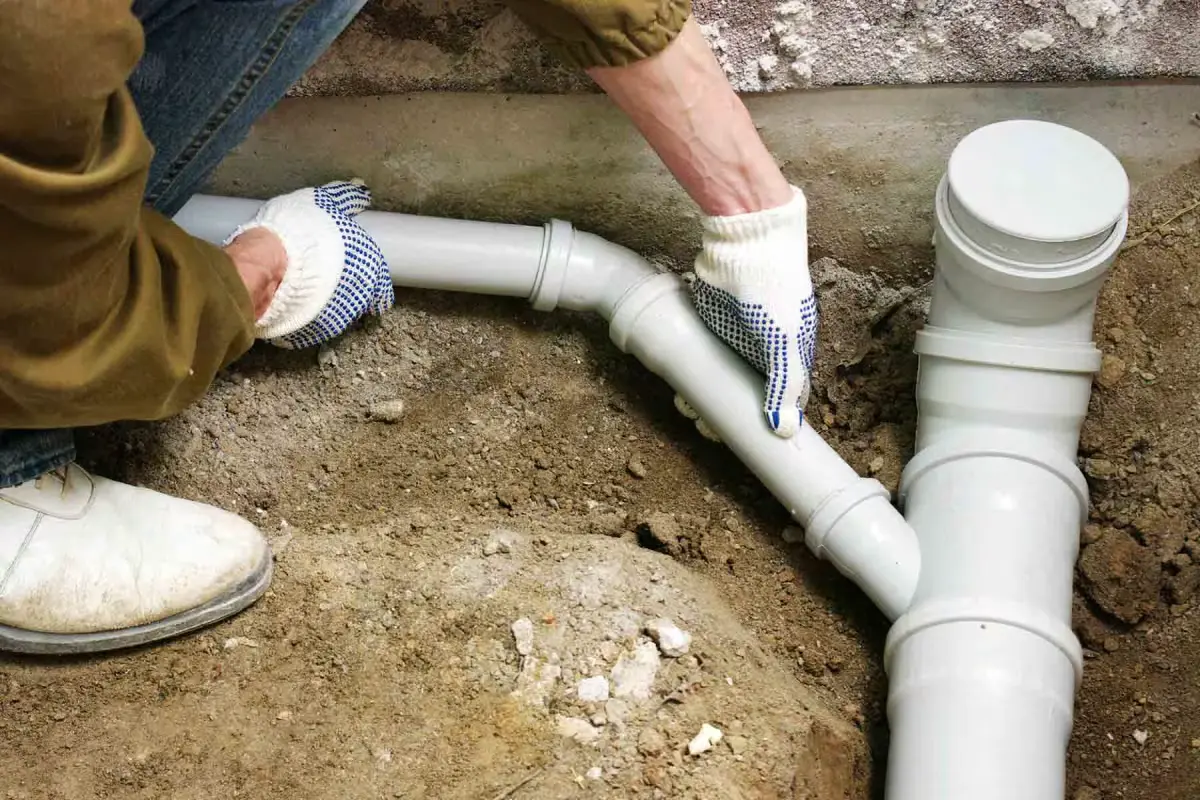
4. Basement and Foundation: Cracks in the foundation or poor waterproofing can result in water seepage through basement walls, causing leaks.
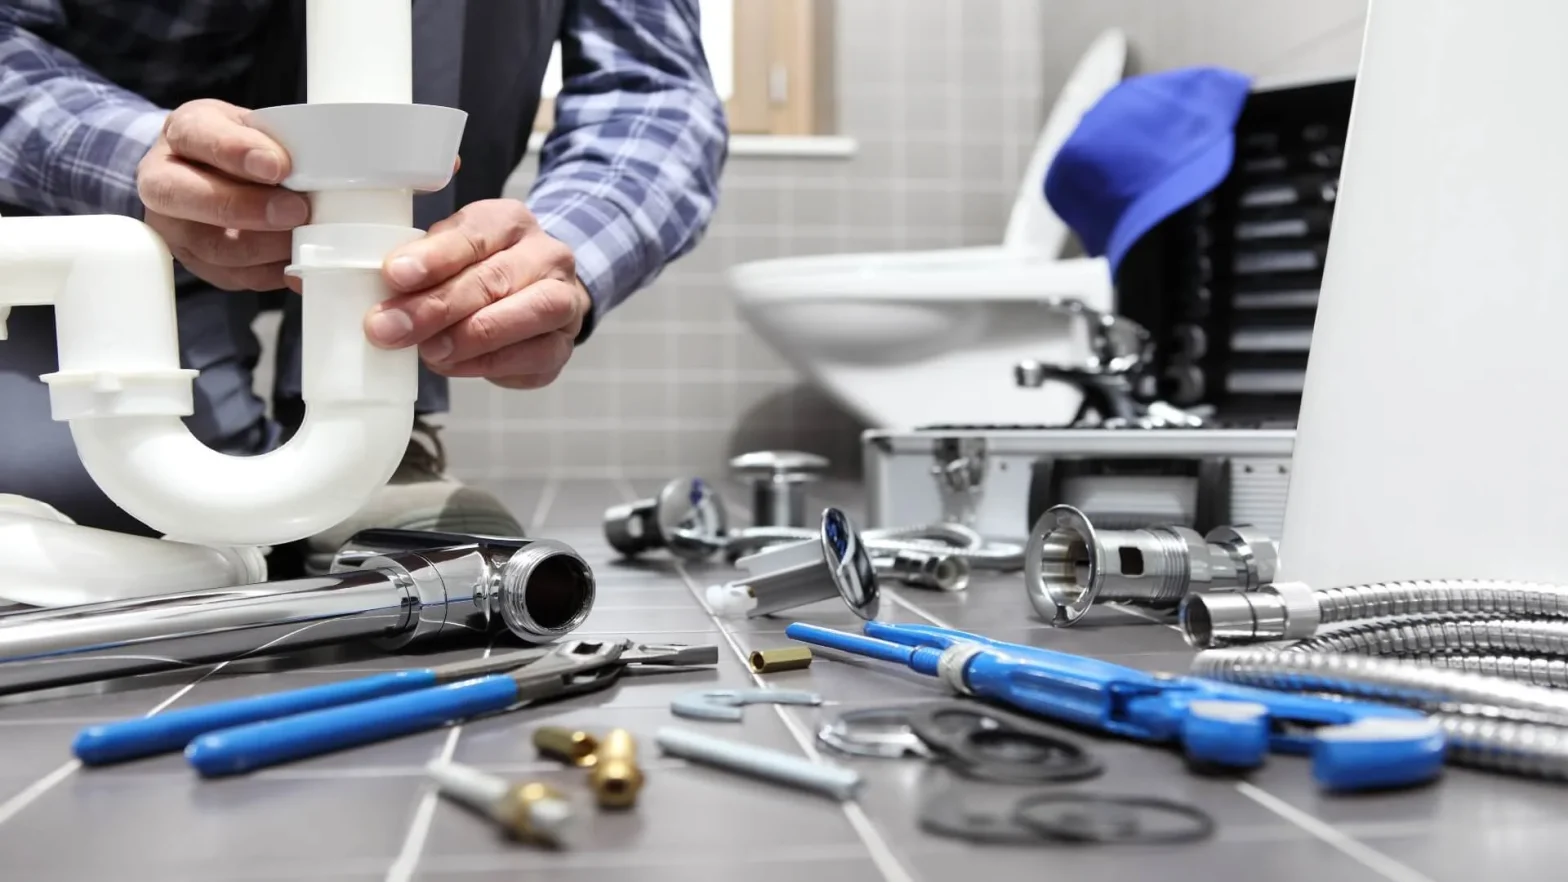
Gathering essential supplies and tools
Are you dealing with a persistent wall leak that needs immediate attention? Whether it’s a minor seepage or a more serious issue, having the right supplies and tools is crucial for a successful wall leak repair in Temecula blog. Here’s a list of essential items that will aid you in tackling this problem effectively:
1. Buckets: Begin by collecting and containing the water leakage using sturdy buckets. This prevents further damage and minimizes the spread of water.
2. Towels: Keep an ample supply of absorbent towels to dry the affected area thoroughly. Dabbing and wiping excess moisture is essential before commencing any repair work.
3. Protective Gear: Prioritize your safety with protective gear such as gloves, goggles, and a face mask. Dealing with leaks may involve exposure to potentially harmful substances, so safeguarding yourself is paramount.
4. Patching Materials: Opt for high-quality patching compounds or fillers suitable for your wall type. These materials serve to seal gaps, cracks, or holes efficiently, preventing water infiltration.
5. Sealant: Invest in a premium-quality sealant compatible with the surface you’re repairing. A waterproof sealant provides an added layer of protection against future leaks.
6. Caulking Gun: A reliable caulking gun facilitates the application of sealants and caulks with precision, ensuring a neat and effective sealing job.
While gathering these supplies, prioritize quality over price. Using subpar materials may result in temporary fixes or recurrent leaks, ultimately costing you more in the long run. Choosing high-grade supplies and tools ensures a durable and lasting repair that safeguards your property from further water damage.
How-To Guide for Do-It-Yourself Wall Leak Repair in Temecula Blog
Follow this comprehensive DIY guide to navigate through the repair process smoothly while ensuring your safety.
Step 1: Prepare the work area: Before diving into the repair, ensure you have the necessary tools and materials at hand. Clear the area around the leak and protect furniture or flooring nearby with drop cloths. Turn off any electrical sources in the vicinity to avoid potential hazards.
Step 2: Focuses on finding where the leak originates: Take a close look at the area affected to determine where the water is coming from. It might originate from plumbing, roofing, or even internal wall issues. Understanding the root cause is crucial for an effective repair.
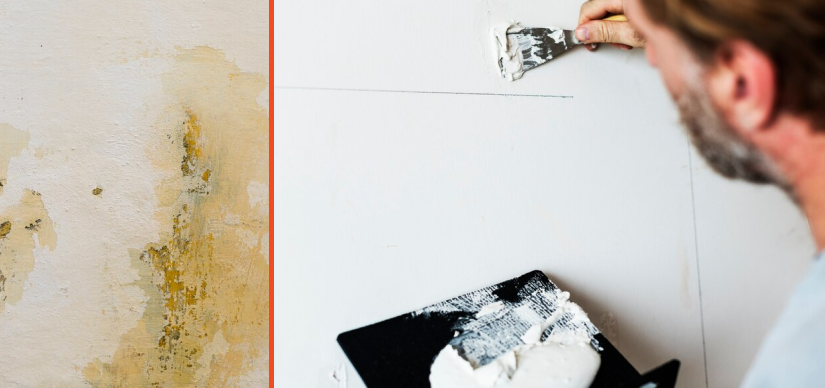
Step 3: Gather Materials and Tools: For this repair, you’ll typically need waterproof sealant, a putty knife, sandpaper, primer, paint matching your wall, and a brush or roller. Ensure these materials are of good quality for lasting results.
Step 4: Repairing the leak: Clean the affected area thoroughly, removing any debris or loose particles. Apply the waterproof sealant generously over the leak, ensuring complete coverage. Use the putty knife to smoothen the sealant for a seamless finish.
Step 5: Sanding and priming: Once the sealant has dried completely, sand the repaired area gently to create a smooth surface. Apply a primer suitable for your wall type to ensure proper adhesion of the paint.
Step 6: Painting: Select a paint color that matches your wall perfectly. Apply the paint evenly using a brush or roller, covering the repaired area seamlessly. Multiple coats may be required for a uniform finish.
Safety Precautions:
- Always wear protective gear like gloves and goggles while working with sealants and paints.
- Ensure proper ventilation in the working area to prevent exposure to fumes.
- Use a sturdy ladder or step stool for higher wall repairs and follow ladder safety guidelines.
Preventing Future Wall Leaks
While repairing wall leaks is crucial, preventing them altogether is even more rewarding. Here’s how you managed wall damage repair in Temecula blog from potential leaks, ensuring a sturdy and secure home environment for years to come.
1. Regular Inspections: The key to prevention lies in vigilance. Conduct routine inspections of areas prone to leaks, including plumbing fixtures, roofs, and exterior walls. Look for signs of moisture, discoloration, or any unusual changes that might indicate a leak.
2. Maintenance is key: Engaging in preventive upkeep can prevent future problems. Seal cracks in walls and foundations promptly. Ensure that caulking around windows, doors, and other openings remains intact, preventing water infiltration.
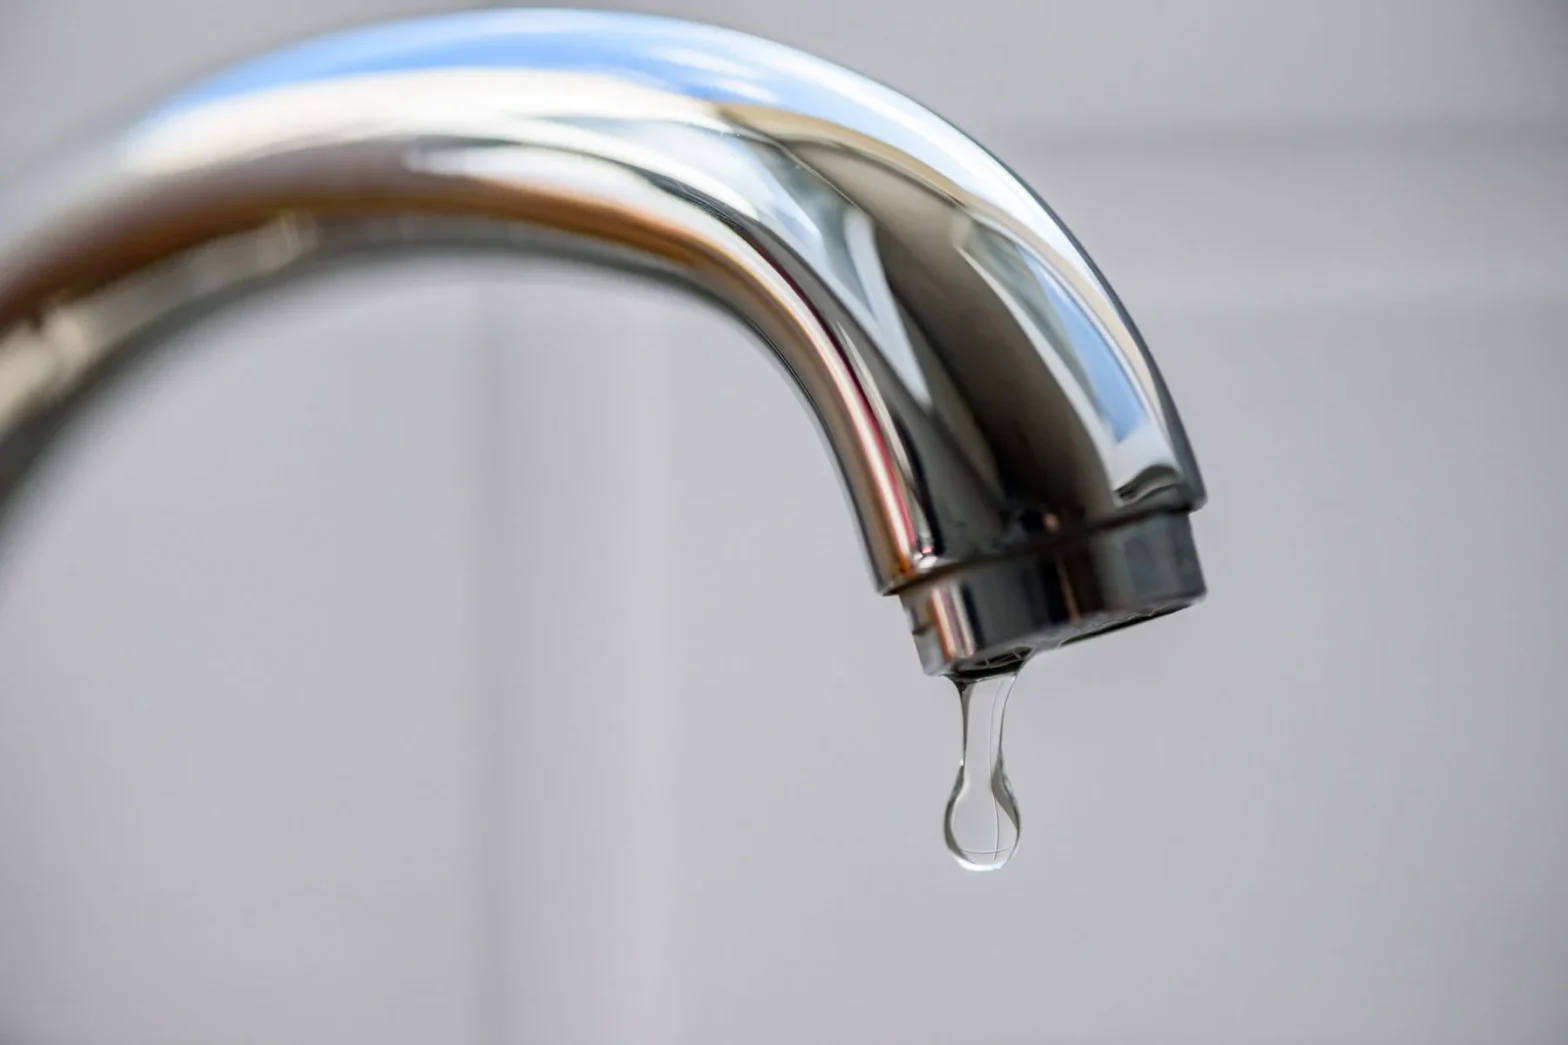
3. Plumbing Prudence: Address plumbing issues immediately. Leaky pipes or faucets can gradually lead to significant wall damage. Regularly check for leaks, drips, or any unusual water accumulation around plumbing fixtures.
4. Roof Resilience: Your roof plays a crucial role in preventing wall leaks. Keep it in top condition by inspecting for missing or damaged shingles, signs of wear, or areas prone to water pooling. Timely roof repairs can prevent water from seeping into your walls.
5. Gutters and Drainage: Clean gutters and downspouts regularly to ensure proper drainage. Clogged gutters can cause water backup, leading to wall damage. Ensure downspouts direct water away from the foundation to prevent seepage into walls.
6. Landscaping Awareness: Be mindful of your landscaping. Ensure the ground slopes away from your home’s foundation to prevent water accumulation near walls. Proper grading can significantly reduce the risk of water infiltration.
7. Humidity Control: Maintain optimal indoor humidity levels to prevent excess moisture buildup, which can contribute to wall damage. Deploy dehumidifiers in moist spaces and guarantee adequate airflow in your residence.
Final Words
Taking charge of wall leak repair is crucial for maintaining a healthy and resilient home. DIY repair offers homeowners the opportunity to address these issues promptly and confidently. However, for complex or extensive repairs, seeking professional assistance is advisable.

Related Posts