7 Steps – How to Check for Water Damage Behind The Shower Wall?
We often take the bathroom shower for granted. Even though we use it multiple times a day, are we providing the necessary care it needs to remain as an inviting personal space? It is something that doesn’t occur to many ordinary homeowners. Water damage behind the shower wall is one such problem that can develop over time if you don’t pay attention to your bathroom shower walls.
This post talks about how you can check for such damage and also provides you with an insight into professional water damage repair in Irvine, CA.
Water damage behind the shower wall isn’t a problem that develops overnight. It involves a slow process where you unintentionally contribute to the water damage of the walls every time you take a shower. The rate of damage will rise with time as more areas of the walls are exposed to absorb moisture. The most common way of this happening is when the caulk between the bathtub and the wall tiles dry up and crack. This allows water to get under the tiles and cause damage to the walls.
Despite the damage it does, it’s nothing that cannot be fixed. We’ll talk about everything from evaluating the damage and identifying the source to fixing the water damage problem and how you can prevent such problems in the future.
7 Signs of Water Damage Behind The Shower Wall
As mentioned previously, this type of damage involves a slow process and will not happen at once. Therefore, it will show some signs of damage, indicating that your shower walls might be experiencing some water damage. It can be beneficial to know these signs as you can take quick action before things turn worse. However, these signs may not be that easy and obvious to spot. Therefore as a responsible homeowner, it is vital that you lookout for these signs.
- Excessive water pooling around the corners and on the walls of your bathtub – This may indicate that there’s water behind the wall tiles, which is dripping onto the walls of the tub.
- Strong odors that you can’t seem to get rid of – Another sign indicating such damage is any musty odors from your bathroom that you can’t seem to get rid of, no matter how much you bleach, scrub, or sanitize.
- Cracks or holes in grout lines – Are there any visible cracks or holes in the grout lines between your wall tiles? Is the grout not even at some places? If you can observe similar signs, then there’s a chance that water is entering into your walls.
- Damp spots on bathroom walls – If you can see any damp spots on the walls surrounding your shower, it may indicate that there’s a leak in one of the pipes that carry water to your shower. This is a much different issue than the ones mentioned above.
How Does Water Get to The Wall?
Your bathroom walls will be affected by water damage when the walls are exposed to water continuously. There are two main ways for your walls to be in contact with water.
Water Seeping Through Tile Grout and Broken Caulk
Many of us think that the shower walls are waterproof and there’s no impact of water falling on them. That applies only to the wall tiles. While tiles have no impact of water falling on them, the grout between them will allow water to seep through if it is not sealed correctly. Also, if there are holes or cracks in the grout or the caulk between the tub and the titles, that makes way for water to get inside.
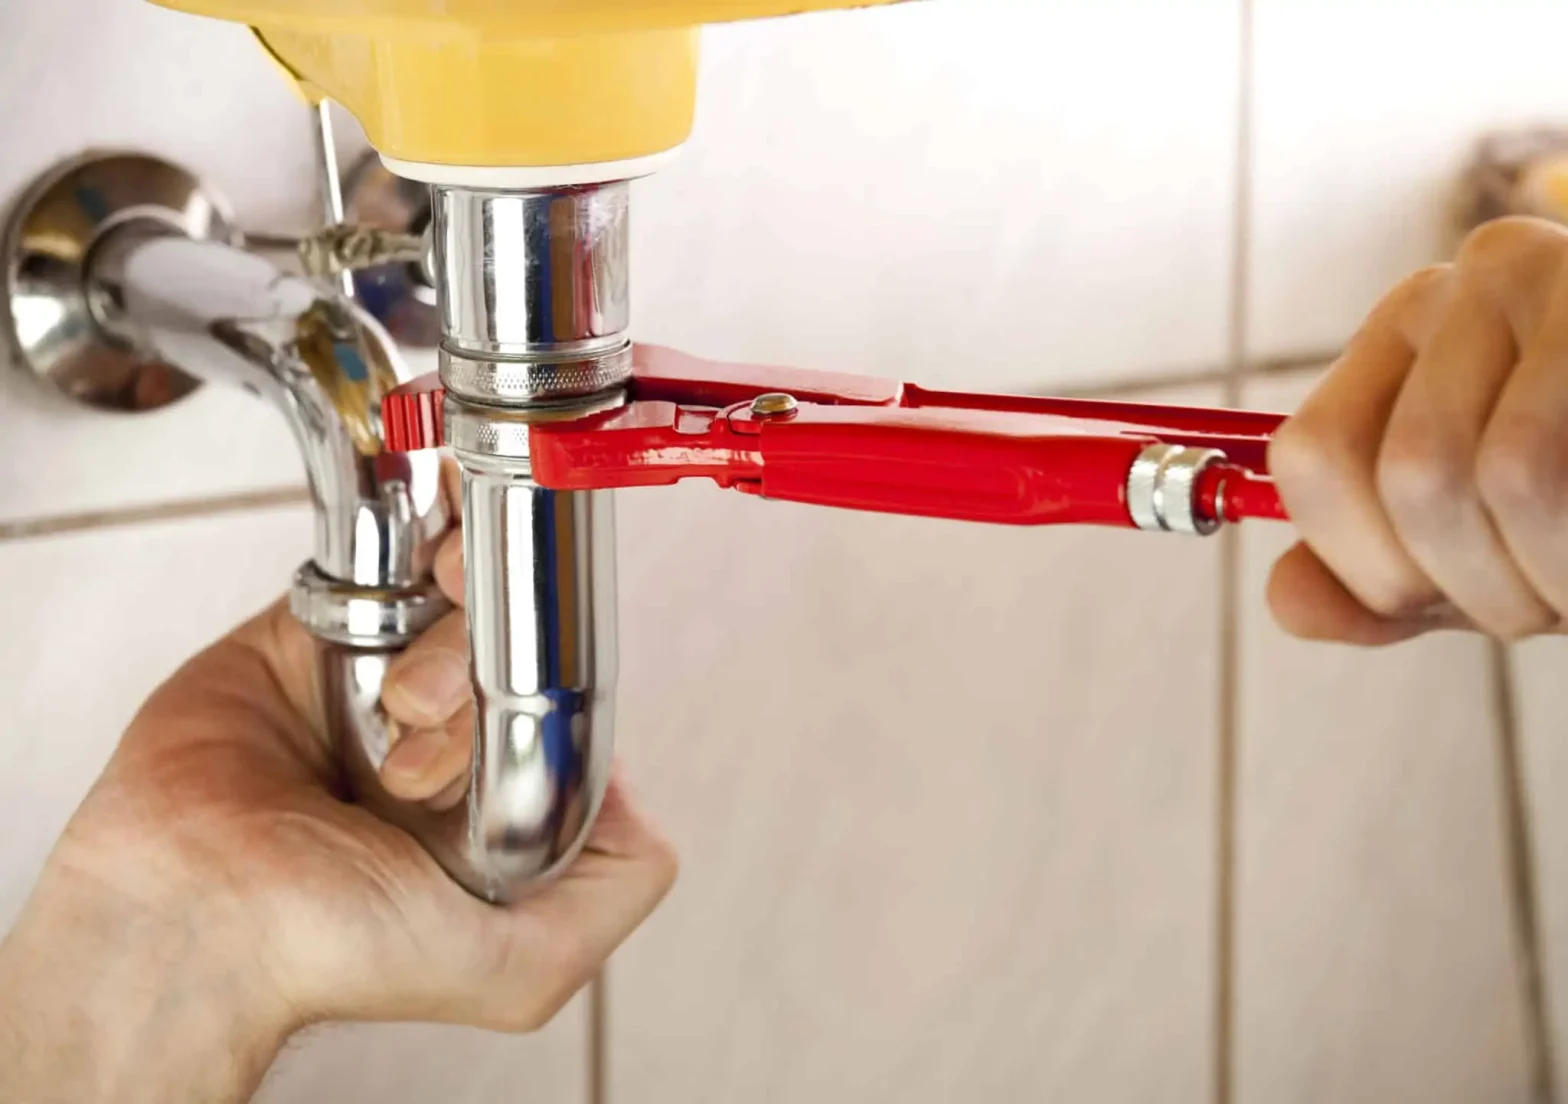
A Leak in Pipes That Run Through Your Bathroom Walls
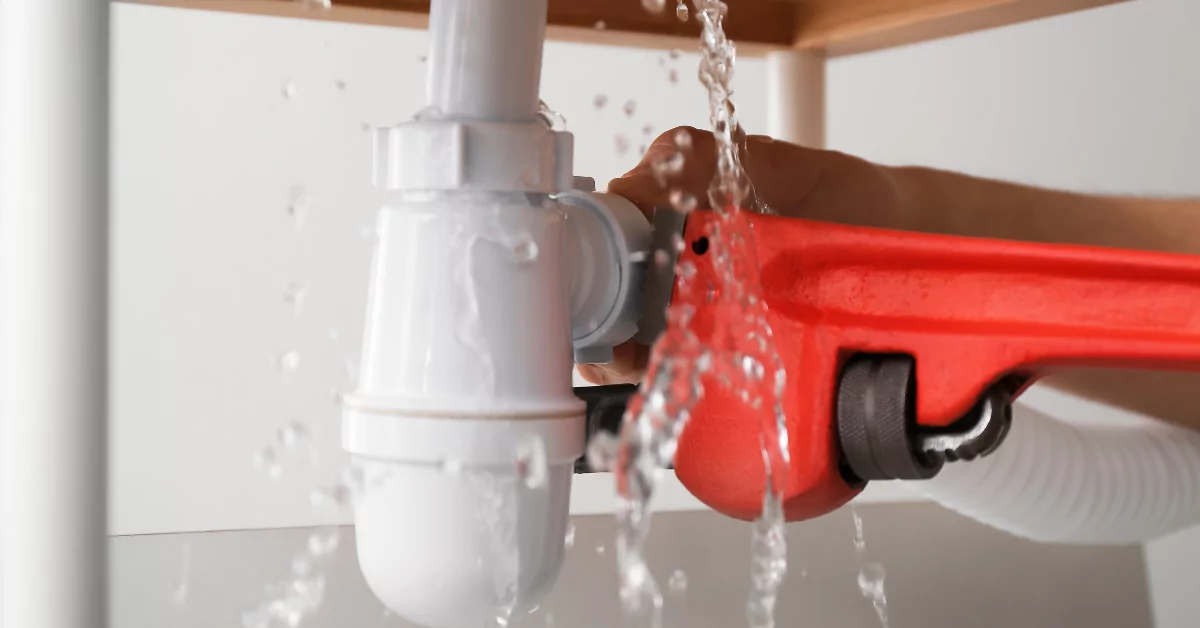
There are several pipes running through your bathroom walls, carrying water to the shower and other fixtures in the bathroom. Unlike a leak in ordinary pipes, water has nowhere to go if there’s a leak in these concealed pipes. Therefore they will be deposited in the walls, causing extreme water damage.
These issues can bring severe results as water will continue to get deposited in your walls as long as the water runs through the fixtures. Since leaks in concealed pipes cannot be spotted easily, you will be able to know that you have a leak once the wall has gone through significant water damage.
Knowing exactly how your bathroom walls are being affected by water damage is important. That is because no matter how much water damage you try to fix, it will happen again and again unless you fix the root cause of the problem.
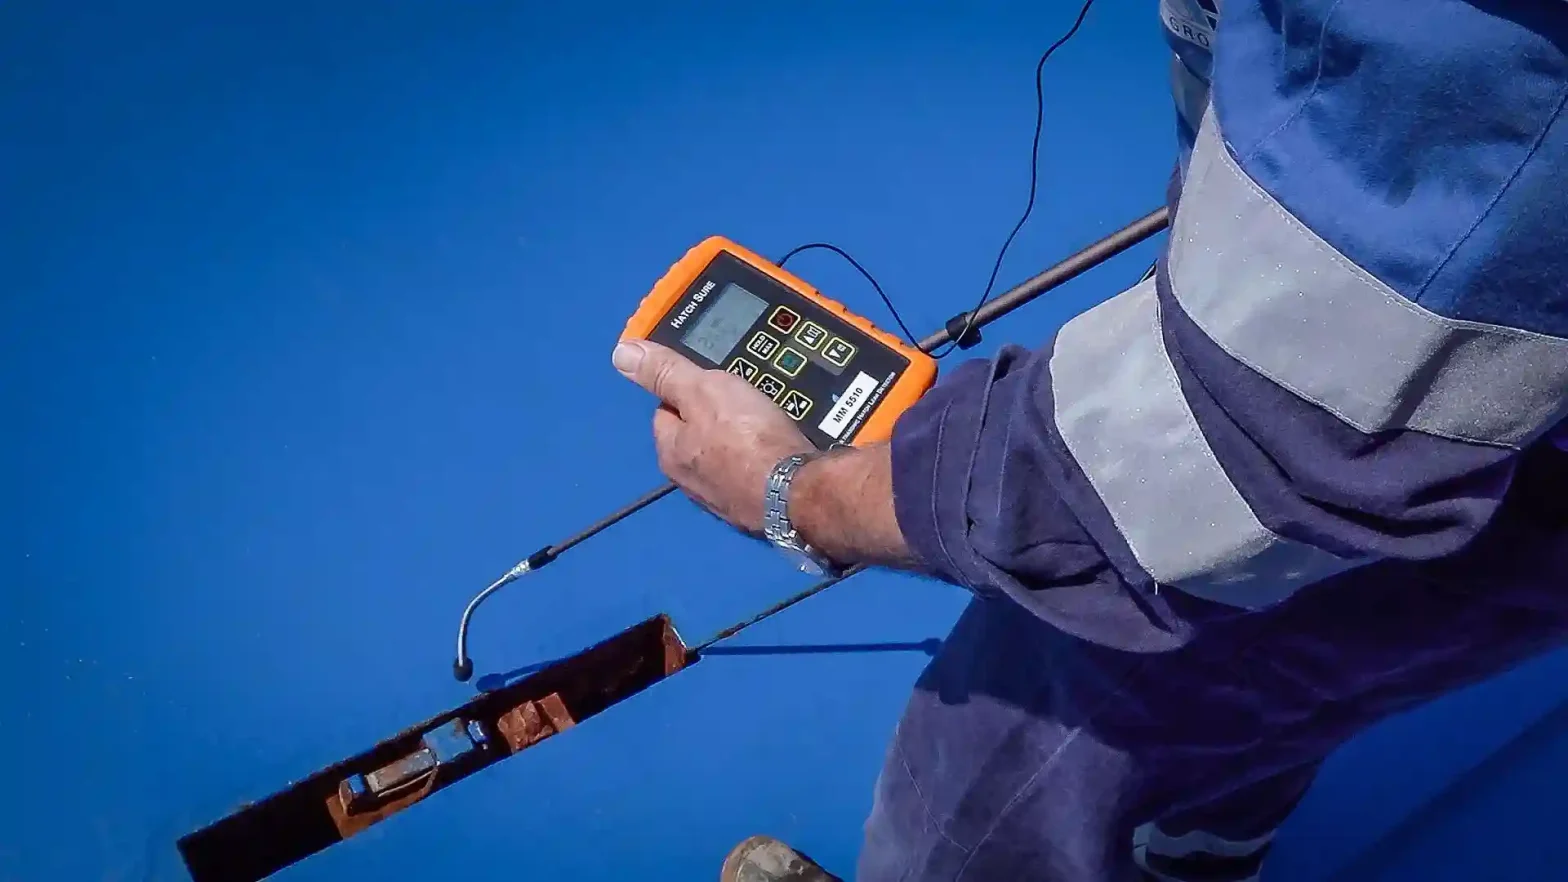
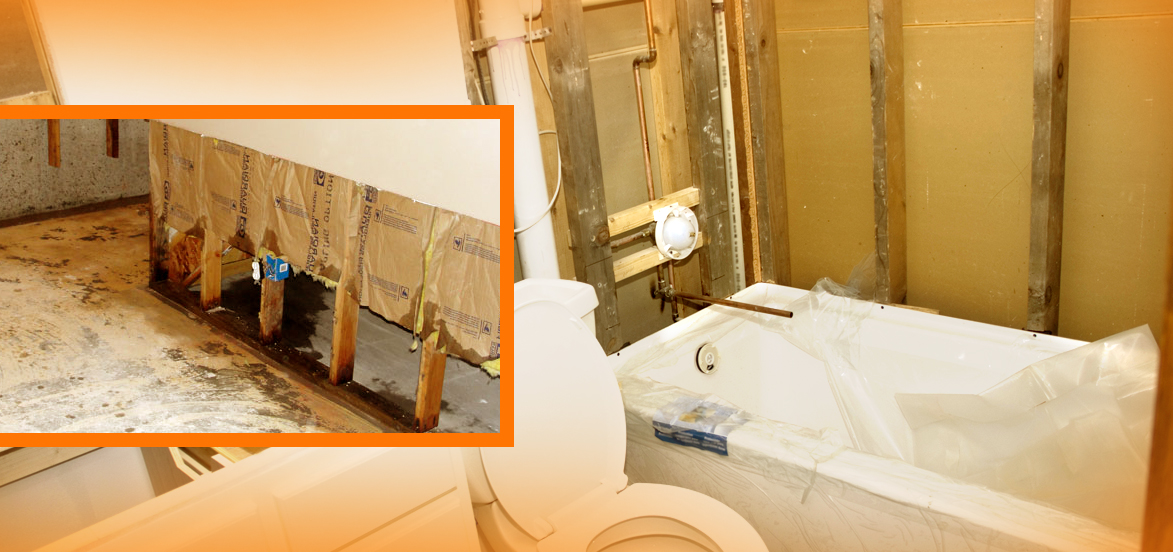
Water Damage Evaluation
When water gets collected behind wall tiles, moisture is spread across the backboard. Since the tiles are attached to the surface, the materials have no way of drying. When this happens continuously over time, it makes the backboard deteriorate, which will result in severe water damage. Given below are some common consequences of a bathroom wall that has undergone typical water damage.
- Cracks, discoloration, or uneven tile grout
- Single tile not in alignment with the rest of the tiles
- Pieces of tiles breaking away from the bathroom walls
- Broken caulk at shower base and between the tub and wall tiles
- Strong odors that don’t seem to go away
- Mold and mildew growth
Most of these problems can be fixed if you have a basic set of DIY plumbing skills. If you happen to find mold on your water damaged walls, it is better to leave that job for a professional such as Cali’s Choice water damage restoration in Irvine, CA. It is not something that you should try your DIY skills on. If mold is not taken care of righteously, it can cause severe problems, from costly repairs to even health problems.
How to Fix Water Damage Behind The Shower Wall?
Now that you know how to check your damage, the next step is to fix the damage. This is where you should decide whether you will handle the project by yourself or reach out for professional help. The decision should be based on the type and the extent of your damage.
It is always better to turn to a water damage repair specialist in Irvine, CA, if you feel like it is beyond your DIY skills. It will be more beneficial rather than trying to handle it by yourself and making things worse.
If you think you are ready to undertake this DIY project, follow the below-given steps to fix your water-damaged shower wall.
Step 1: Carefully Remove The Tiles
Now that you have assessed the situation and evaluated the damage, you can move on to fixing the water damage.
As the first step, start by removing the titles of the affected wall carefully. Since the water has affected the backboard, the wall tiles have to be removed to fix the damage. Depending on the extent of the damage, you need to remove the tiles by hand or using a putty knife or a small flat pry bar. Remove the tiles until the damaged drywall is fully exposed. Tiles at the edges of the damaged area are difficult to remove.
If you are planning to reuse the tiles you are removing, make sure that you take your time and carefully remove them as cracked or broken tiles will be of no use.
Step 2: Cut Out the Drywall
Now that you have removed the tiles, you should be able to see the water-damaged drywall. Since the wall has been exposed to water, it is very likely that it will be soft. Therefore, you can break off the top surface of the drywall using your hands. Now, get a pencil or a sharpie and mark straight lines on the remaining intact drywall. Remove the drywall by cutting on these lines using a utility knife or wallboard saw.
Remove any screws or nails in this area. If any of your wood studs are also affected by water, you can clean them with a water-bleach solution. If the wood has been rotten, you have no option but to replace them.
Once all of it is done, scrape off the old caulk using a razor scraper.
Step 3: Clean The Tiles
You need to follow this step only if you are reusing the tiles removed from the wall initially. Hopefully, you can do so; otherwise, you will have to spend a significant amount on buying new wall tiles.
You need to make sure that the tiles are free of any drywall residue or old adhesive before using them again. Therefore clean them well by soaking them in water that is mixed with some household cleaner. You will also have to scrape off old adhesive using a putty knife. If the adhesive contains any materials that are not cement, boil the tiles for a few minutes before you scrape them off. Make sure that you follow necessary safety measures when dealing with hot water.
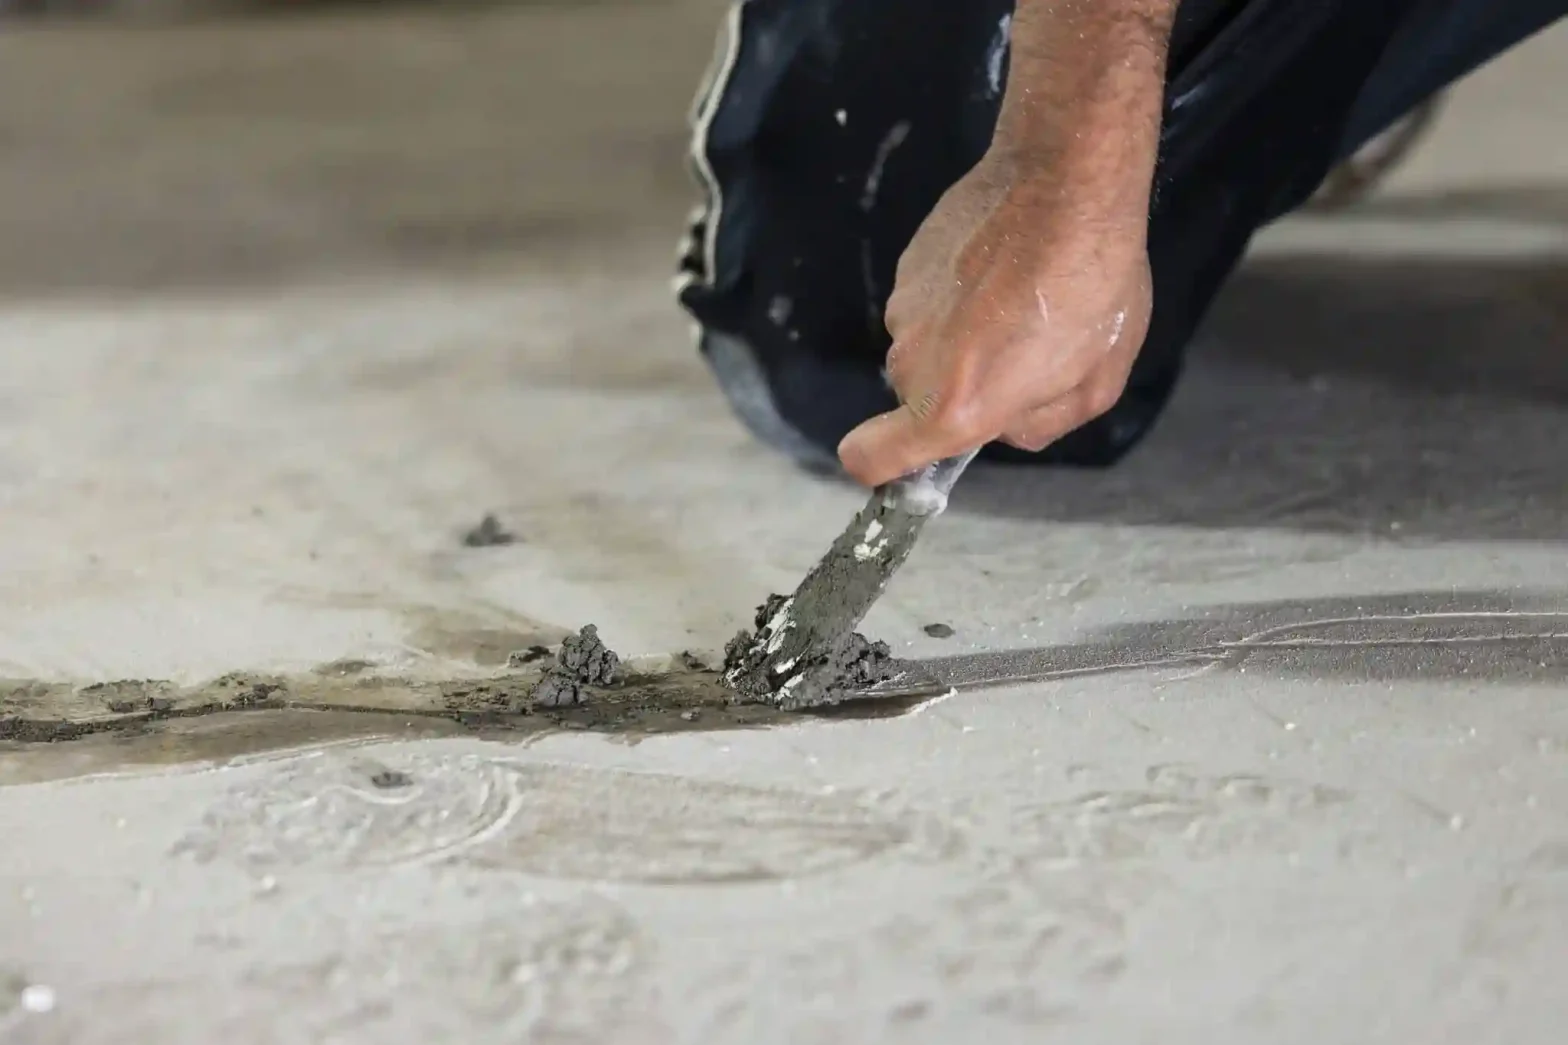
Step 4: Cut and Install a Cement Board Patch
Now you need to cut a cement board patch for the drywall you have removed. The cement board cut should fit the removed drywall area and should have the same thickness as the drywall. Cement boards can be easily cut with a circular saw.
Step 5: Tape and Mud the Joint
Apply self-adhesive mesh cement board joint tape to the drywall-cement board joint. Please note that standard drywall mesh tape is unsuitable for this job and will not offer long-lasting results if used.
Mix the thin-set adhesive, and using a drywall knife, fill the seams around the patch with adhesive. Wait for some time until the adhesive is completely dried.
Step 6: Reinstall the Tiles
Now, reinstall the tiles that you have removed and cleaned. Mix more thin-set adhesive if required and apply it evenly to the wall. When reinstalling the tiles, make sure that you properly align the grout lines with the existing tiles.
Step 7: Caulk the Joints
Wait for the sealer to be dried completely and seal the gap between the tiles and the shower pan. This is a critical step of the process as it will not allow water to seep through to the shower wall, which will certainly help you from getting into similar problems in the future.
Conclusion
That sums up the process of checking for water damage behind the shower wall to completely fixing the damage. We have covered everything from identifying the signs of such damage to how you can carry out the repair process by yourself. It only takes a basic set of DIY skills to get the job done, but if you think you need professional help, you can always reach out to a specialist such as Cali’s Choice water damage repair in Irvine, CA.